I had a fabulous dessert (yes, dessert) of figs, blue cheese and caramelized onions. It was so tart and creamy and yet sweet, and I just needed to recreate it myself so I could have it again, and again, and again. So, I searched and found this recipe to guide me in recreating that "when harry met sally" moment.

It may not look like much, but that right there is my version of Fig, Caramelized Onion and Blue Cheese Pizza, and it was outstanding. I would add a bit more balsamic vinegar to it, maybe in some sort of glaze, but it was outstanding as it was...
Here's how I made it (and thanks to my sister for making the crust and the onions!)
First, make the dough. See, this originally started as a tart, but I wanted to use the bare minimum of the dough mixture, so made it a "pizza"...
Add flour, salt, sugar...
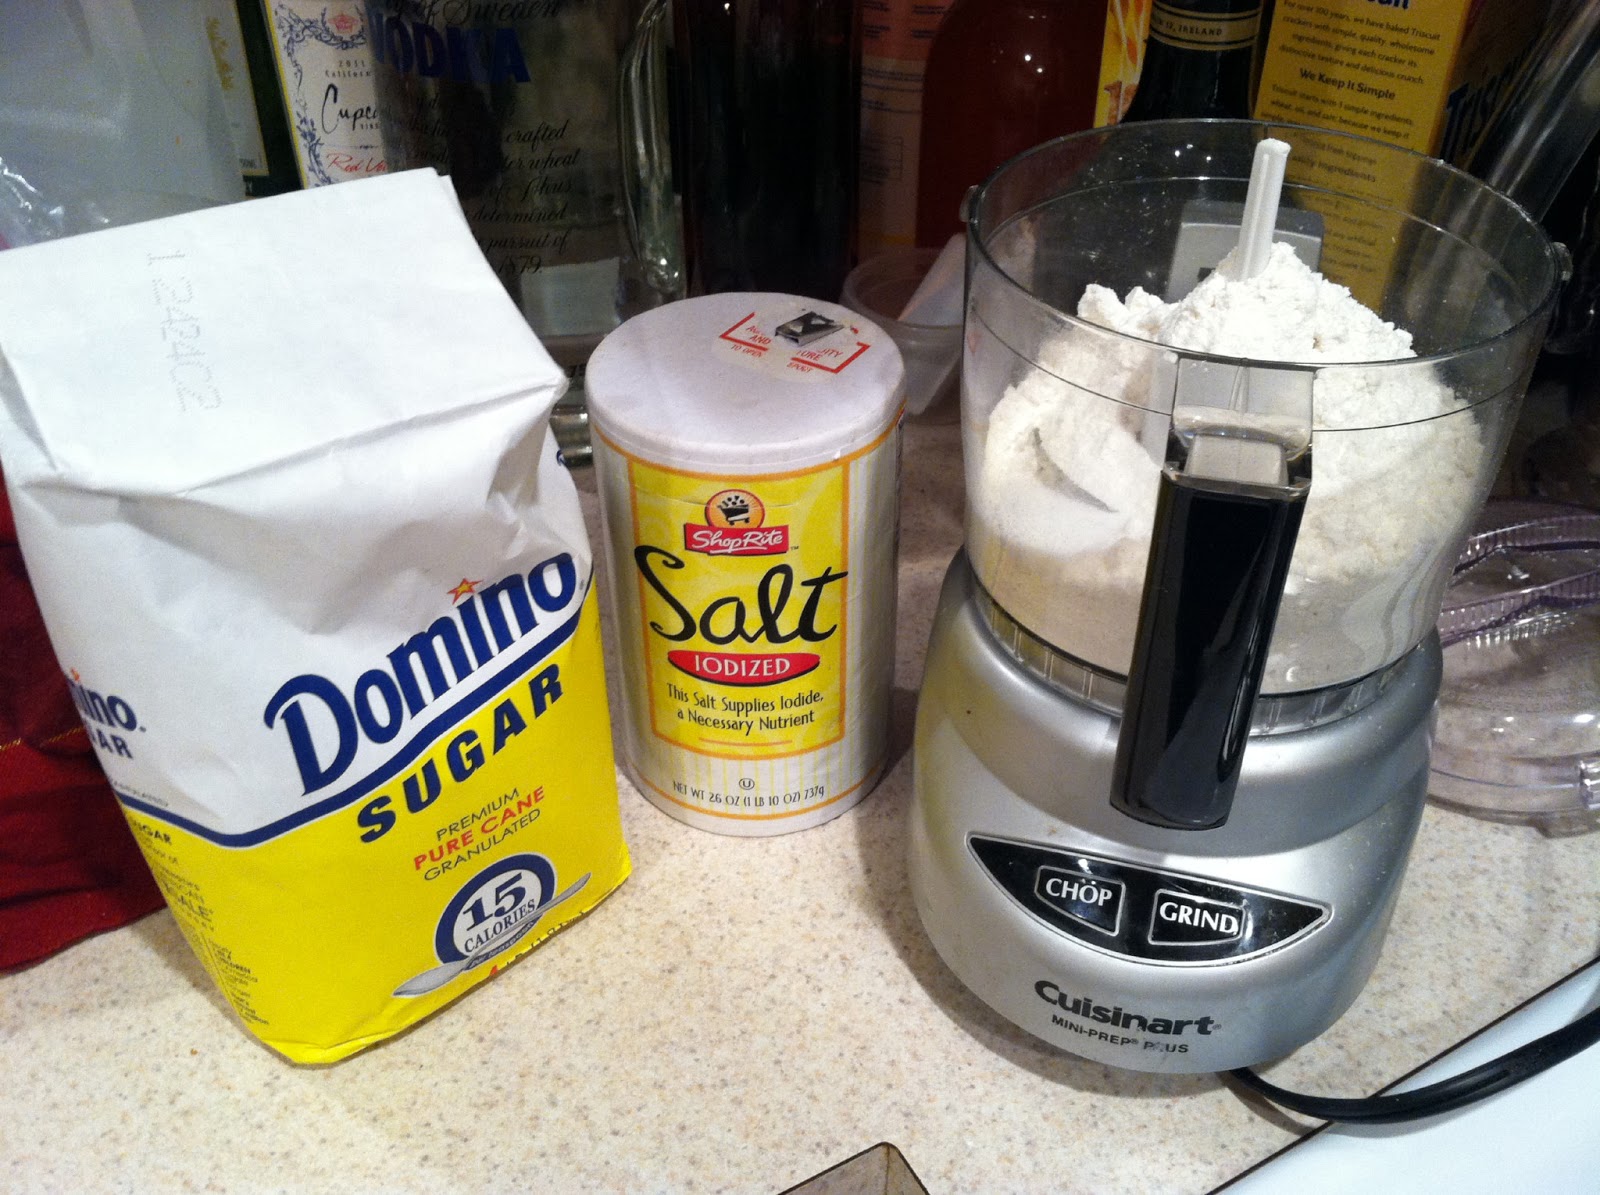
...into a food processor and pulse to mix, then add cubes of butter...

...and pulse until mixture resembles coarse meal. Add water 1 tablespoon at a time, pulsing until mixture just begins to clump together...

...remove dough, put in plastic wrap, and refrigerate for 1 hour...

Now, we get to the good stuff... the yummy elements...

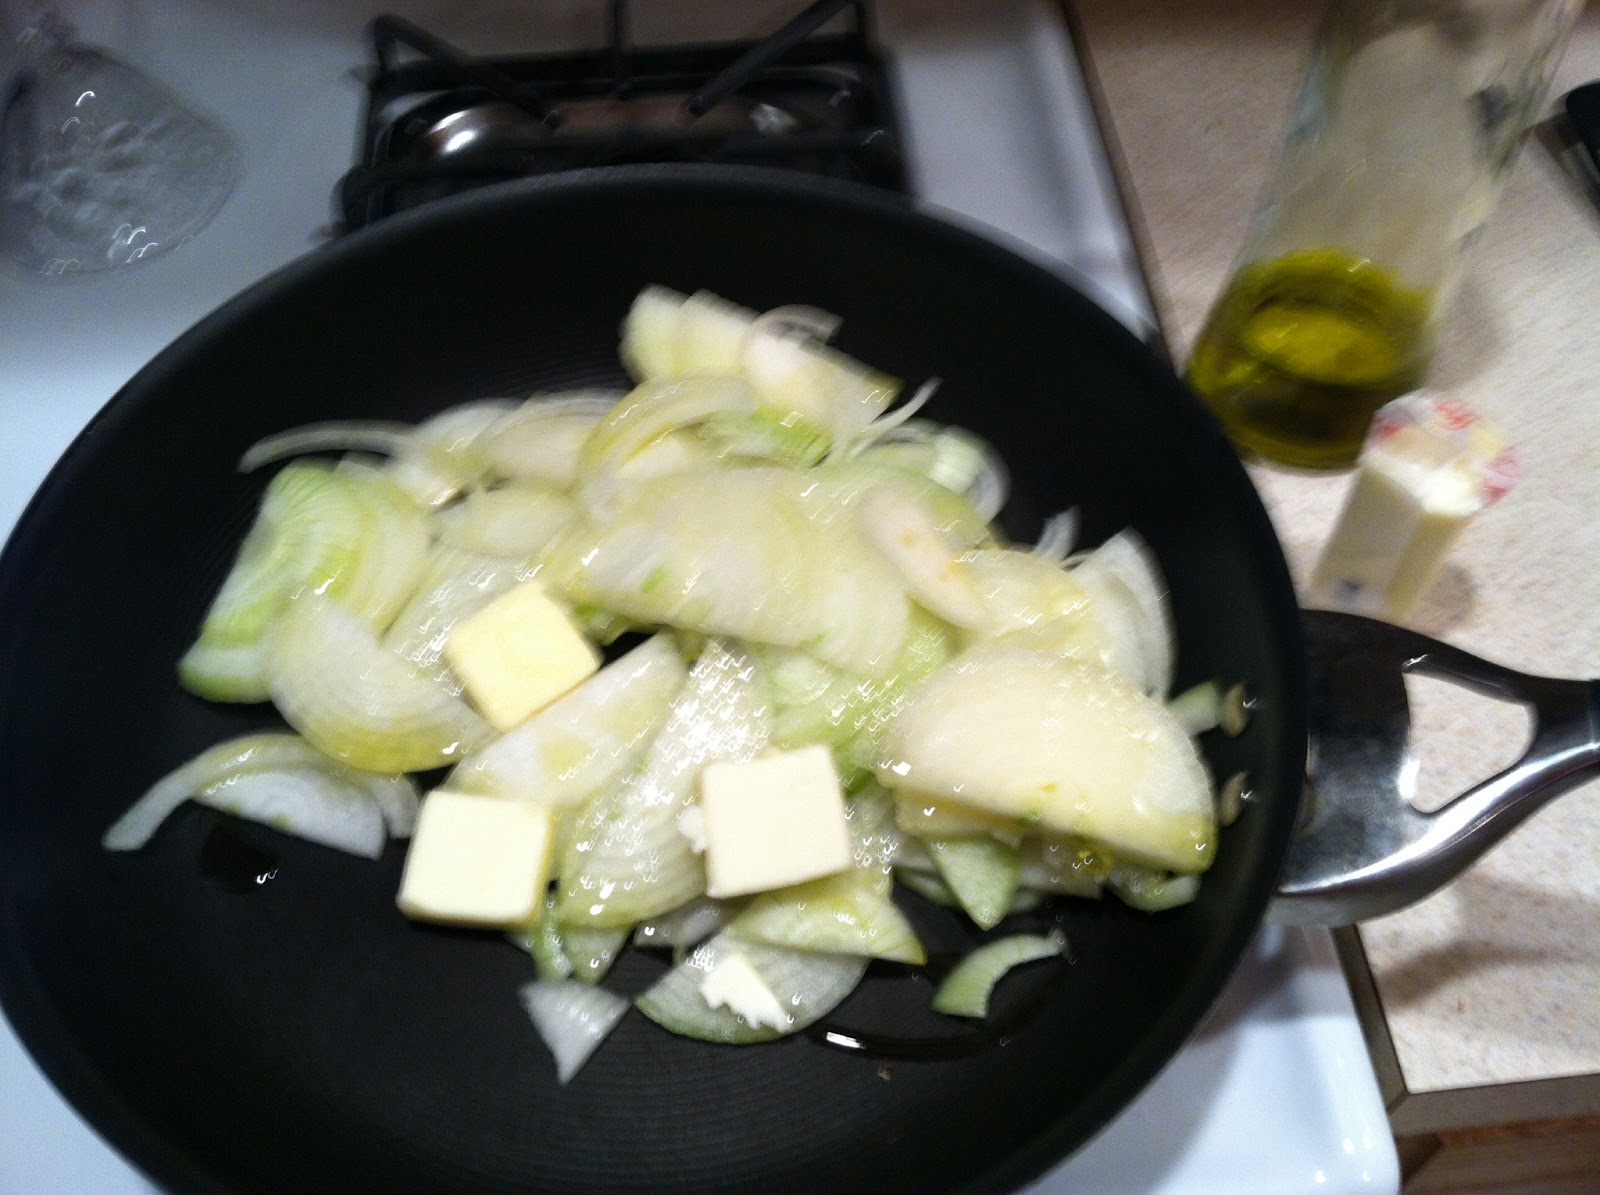
Slice some onions, add butter and olive oil to a pan and heat, then add onions and caramelize...

...meanwhile, slice up your figs, and marinate them in balsamic vinegar...

...when your onions look like this...

...then you can start putting your pizza together! First, roll out the dough, then top with blue cheese, then the caramelized onions, and finally, the marinated figs...

...then bake until the blue cheese is gooey...

...and, once the pizza has cooled off enough, DEVOUR WITH JOY:
Here's the full recipe!
Fig, caramelized onion and blue cheese pizza
Slightly adapted from The Nugget Market's recipe
Ingredients
- 1⅓ cups flour, plus some for rolling
- 8 tablespoons unsalted butter, cold
- ½ teaspoon salt
- ½ teaspoon sugar
- 2-4 tablespoons ice water
- 3 medium-sized sweet onions (Maui or Vidalia)
- 3 tablespoons olive oil
- 3 tablespoons butter
- 3 tablespoons reduced balsamic vinegar
- ½ cup Shaft Blue or Maytag Blue cheese
- 4 Black Mission figs roasted in port or balsamic
- Onion tart dough
Preparation
Crust for Onion Tart:In food processor, combine flour, salt and sugar. Pulse to mix. Cut butter into ½-inch cubes and pulse until mixture resembles coarse meal. Add water 1 tablespoon at a time, pulsing until mixture just begins to clump together. Remove dough. Refrigerate 1 hour. Work on filling.
Onion Tart:
Heat olive oil and butter in large sauté pan on medium heat. Add onion and salt. Cook onions until caramelized. Add reduced vinegar syrup and toss. Place into bowl.
Preheat oven to 450ºF.
Remove dough from refrigerator. Roll out the dough on a lightly floured surface – out to a 10-inch diameter. Place dough on a parchment-lined sheet pan. Place blue cheese in the center of dough; add caramelized onions on top of cheese. Cut figs into wedges and place on top of onions – add a little of port and balsamic roasting juices. Fold the edges of the dough over so that a small circle of the onion is showing in the center of the tart.
Bake for 10 minutes at 450ºF. Reduce heat to 350ºF until crust is golden brown. Remove and let sit for 10 minutes before serving.